By Sabino Martinez, Owner — Domain Custom Painting | Oregon CCB #231549
Portland gives you roughly four months to paint the outside of your house. Do it right, and a quality exterior paint job holds for a decade. Do it wrong — or try to rush it outside that window — and you’ll be back in two or three years watching it peel.
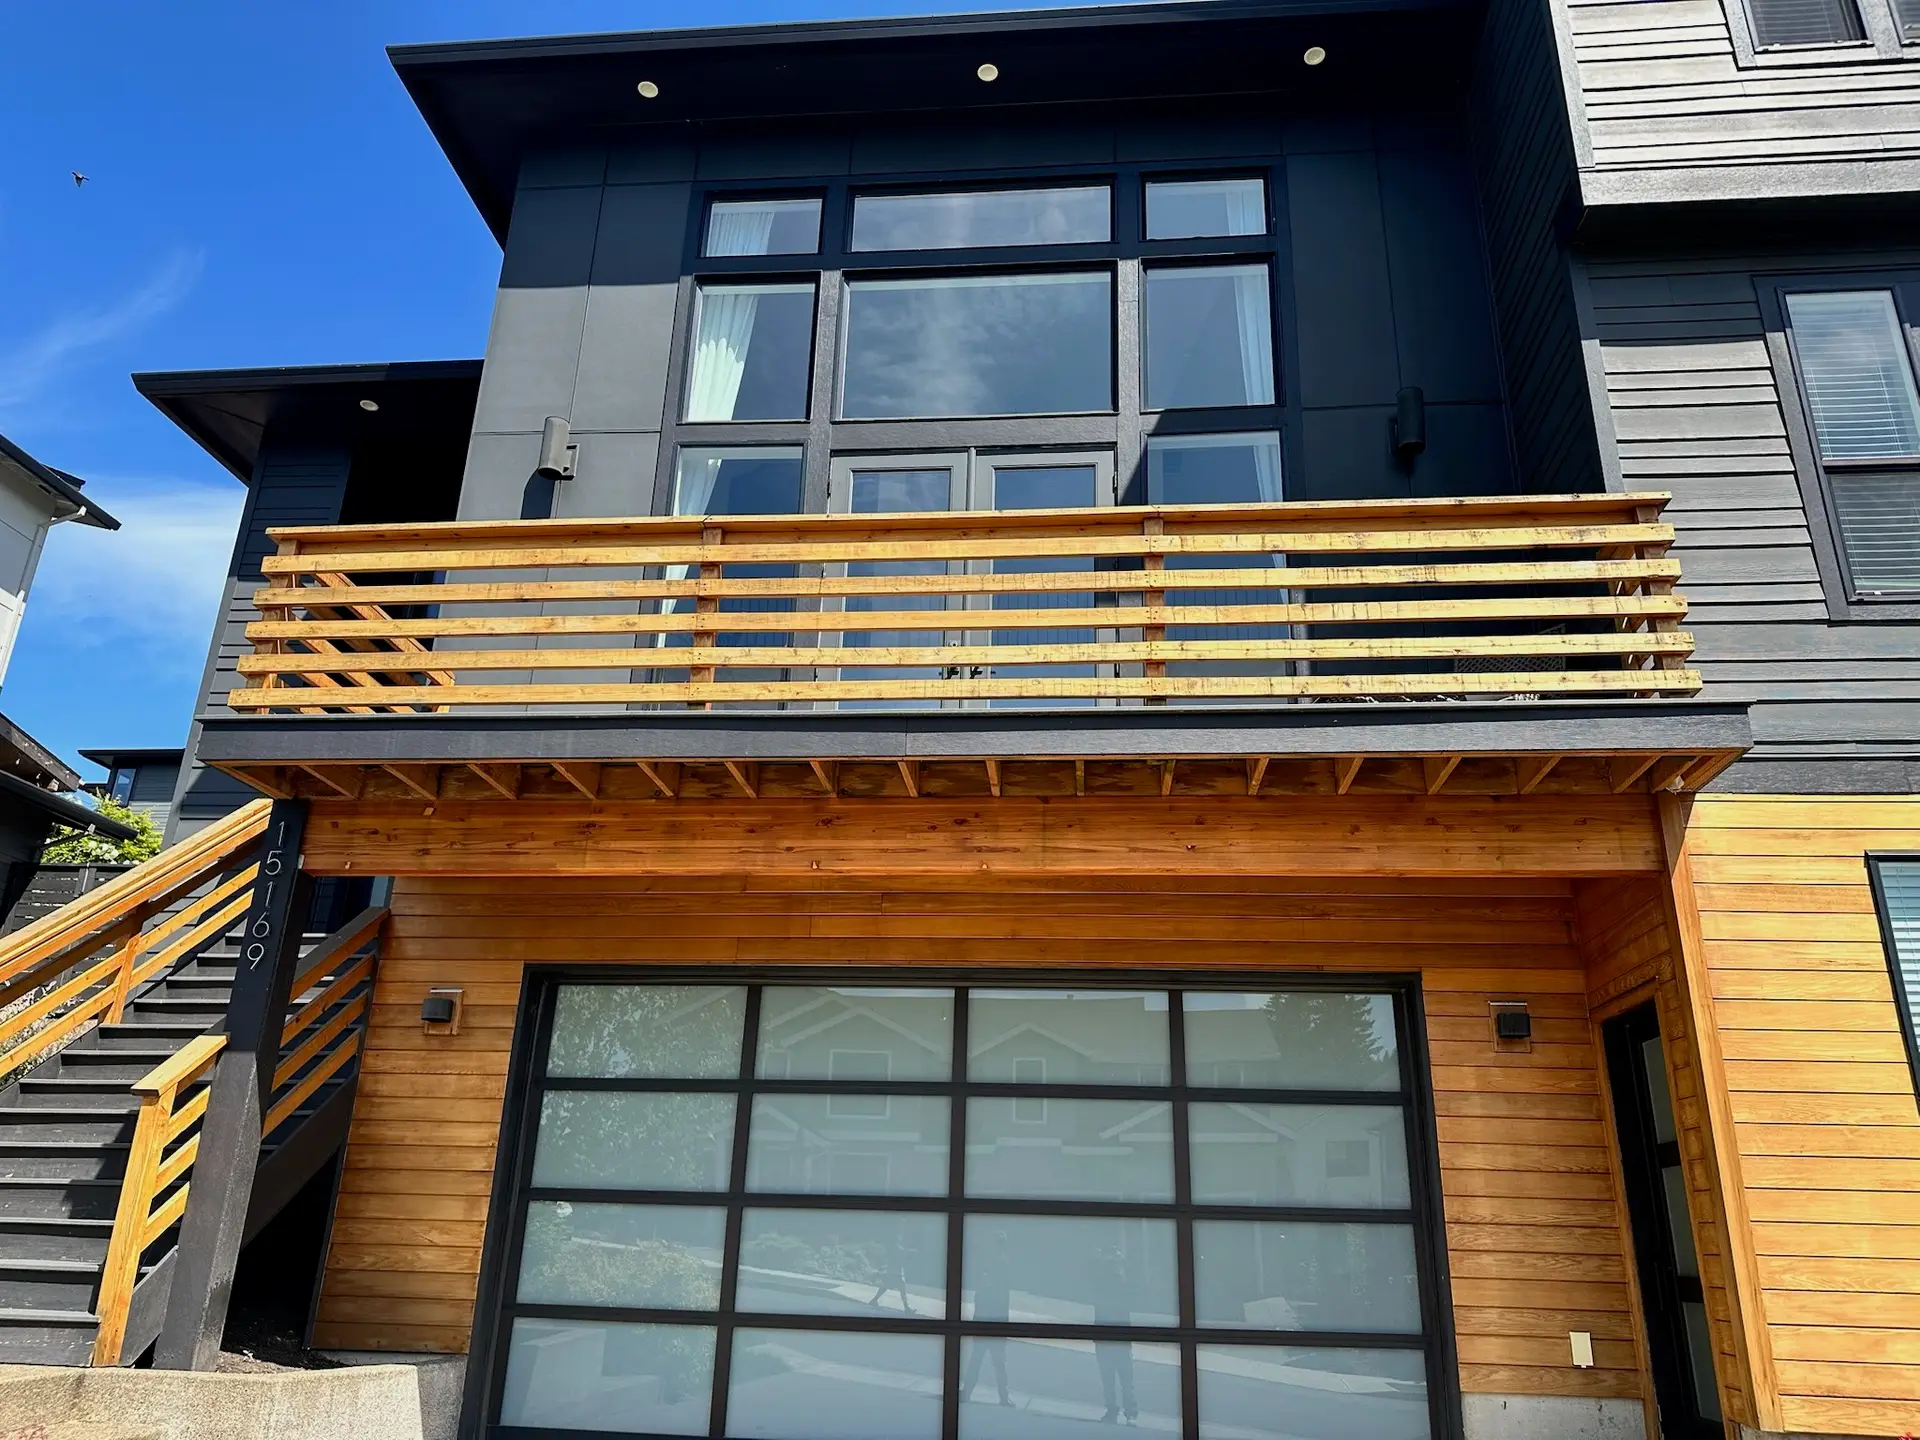
I’ve painted homes all over the Portland metro area — Beaverton, Hillsboro, Tualatin, Lake Oswego, Tigard, Happy Valley, and neighborhoods across the city itself. Every spring, I get calls from homeowners who are ready to go. Some of those houses are genuinely ready. A lot of them aren’t yet. This guide is what I walk through before any exterior painting project starts.
The Portland Painting Window: When to Actually Do It
Portland’s exterior painting season runs roughly late May through early October. That’s your reliable window — not because it never rains outside those months, but because you need:
- Temperatures between 50°F and 85°F — below 50°F and most exterior paints cure too slowly and adhesion suffers. Above 85°F paint dries too fast and lap marks become a problem.
- Humidity below 70% — Portland’s marine layer and persistent drizzle push humidity up fast, especially in spring mornings and fall evenings.
- At least 24–48 hours of dry weather before and after painting — the surface needs to be dry going in, and the finish coat needs time to cure before rain hits it.
July and August are ideal. June works well once the rain breaks. September is still good but you’re watching the forecast more carefully as the wet season returns. April and May are risky — you can get lucky, but a sudden week of rain mid-job will set you back.
What about winter? It’s possible during dry spells, but I generally don’t recommend scheduling exterior work November through March in Portland unless you’re using a paint specifically formulated for low-temperature application and you have a solid 72-hour dry window. It’s rarely worth the risk.
Step 1: Walk the Entire Exterior First
Before pressure washing, before buying paint, before scheduling anything — walk around your house and look at every surface carefully. You’re looking for:
Paint failure signs:
- Peeling, bubbling, or flaking paint (especially on south and west-facing walls that take the most UV)
- Chalking — run your hand along the siding and see if paint rubs off as powder
- Fading or uneven color
Surface damage signs:
- Cracked or missing caulk around windows, doors, trim joints, and where siding meets foundation
- Wood rot — press a screwdriver gently into wood trim, fascia, and sill ends. If it sinks, the wood is soft and needs replacement before paint goes on
- Loose or damaged siding boards
- Mold or mildew — black or green staining, often on north-facing walls or under eaves where moisture lingers
Portland-specific: lead paint If your home was built before 1978, there’s a real possibility the existing exterior paint contains lead. Portland has a significant stock of pre-war bungalows, craftsman homes, and mid-century houses. Oregon requires lead-safe work practices during renovation, repair, and painting on pre-1978 homes — this includes containment, specific protective equipment, and proper waste disposal. Ask any contractor you hire whether they’re EPA Lead-Safe Certified. At Domain Custom Painting, we follow all required lead-safe protocols on older homes.
Write down everything you find. This list becomes your prep checklist and is the basis for an accurate painting estimate.
Step 2: Repair Wood Rot and Replace Damaged Boards
This step happens before cleaning, not after. There’s no point pressure washing around a section of rotten fascia you’re going to replace anyway.
Wood rot is extremely common in Portland homes given the sustained moisture exposure. Left untreated, it spreads. Common spots to check:
- Fascia boards (the horizontal boards along your roofline) — these take the most water exposure
- Window sills and trim — water pools here and wicks into end grain
- Belly band and lap siding ends — bottom edges of siding boards where moisture collects
- Deck ledger boards and railing posts if you’re painting those too
Soft, punky wood needs to be replaced — not just primed over. If the rot is limited to the surface, a two-part epoxy wood consolidant and filler can save the board. But if it goes deep, replacement is the right call. Paint will not stop rot that’s already progressing.
Step 3: Pressure Wash Thoroughly
Once repairs are done, the entire exterior needs to be cleaned. In Portland, you’re removing:
- Algae and mildew — north-facing walls and shaded areas almost always have biological growth. Standard pressure washing won’t kill it — you need a cleaning solution with sodium hypochlorite (diluted bleach) or an oxalic-acid-based deck cleaner for wood, applied before rinsing.
- Dirt and pollution buildup — especially near high-traffic roads
- Chalking — old paint that’s oxidized and turned powdery. This has to come off or your new paint won’t bond properly.
- Loose and flaking paint — the pressure wash reveals what’s not adhered
Use the right pressure for the surface. Hardboard siding and cedar need lower pressure than cement board or brick. Too much pressure on wood siding raises the grain and creates a rough surface that drinks paint and looks rough when finished.
Critical: The exterior must be completely dry before painting begins — typically 24–48 hours minimum in Portland’s climate, sometimes longer in shaded areas or after a deep wash. Don’t rush this step.
Step 4: Scrape, Sand, and Feather
Pressure washing removes loose paint but it doesn’t remove everything. After the surface dries, go back through with a paint scraper and remove any remaining flaking or peeling areas. Then sand the edges of those spots smooth — this is called “feathering” and it prevents the edges of the old paint from showing as ridges through the new finish coat.
On Portland homes with multiple previous paint layers (common on older craftsman and Victorian-era houses), this step can be time-consuming. Skipping it is one of the most common reasons paint jobs fail early.
Step 5: Caulk Every Gap and Joint
Caulking is the most undervalued step in exterior painting prep. In Portland’s wet climate, any unsealed gap is a water entry point. Water gets in, freezes and expands in winter, works behind the paint film, and causes peeling from the inside out.
Caulk everywhere:
- Around all windows and doors — top and sides (not the bottom, which needs to drain)
- Where trim meets siding
- Corner boards and transitions between different materials
- Around any penetrations — light fixtures, outlets, hose bibs, vents
Use a paintable exterior caulk rated for 35+ years — not cheap caulk from a bargain bin. In high-movement joints (where different materials expand and contract at different rates), use a flexible elastomeric caulk. Let caulk cure fully before painting over it — usually 24 hours.
Step 6: Prime Bare Wood and Spot-Prime
Any wood that was exposed during repairs — new boards, scraped areas, bare end grain — needs to be primed before the finish coat goes on. This is non-negotiable.
On cedar siding (common in Portland’s older neighborhoods), back-prime any new boards before installation. Cedar contains natural oils and tannins that bleed through paint if the wood isn’t sealed. Prime all six sides — front, back, and all four edges — before the board goes on the wall.
For the rest of the surface, spot-prime all bare areas and any areas where you scraped back to raw wood. This seals the surface, blocks stains, and gives the finish coat something to grip.
On full repaints where the existing paint is chalked: a bonding primer applied to the whole surface before the finish coat will dramatically improve adhesion and longevity.
Step 7: Choose the Right Paint for Portland
Not all exterior paints perform the same in Portland’s climate. You need something formulated for:
- Sustained moisture resistance
- Mildew resistance
- UV stability for the hot, dry summers that follow the wet winters
- Flexibility to expand and contract with Portland’s temperature swings
Products that consistently perform well here:
- Sherwin-Williams Duration Exterior — excellent moisture and mildew resistance, self-priming formula, long track record in Pacific Northwest conditions
- Sherwin-Williams Emerald Exterior — premium option with better hide and UV resistance, good for darker colors on south-facing walls
- Behr Premium Plus Exterior — solid mid-range option, widely available
- Benjamin Moore Aura Exterior — excellent color retention, worth the premium for high-visibility surfaces
For wood surfaces on older homes, avoid 100% acrylic paints without a proper alkyd primer underneath — wood movement in Portland’s climate needs the added flexibility.
Sheen matters too: satin is the standard for Portland exteriors — durable, washable, and it doesn’t highlight surface imperfections the way semi-gloss does. Use semi-gloss on trim and doors where you want contrast and a tougher finish.
Step 8: Protect What You’re Not Painting
Before the first brush stroke:
- Cover all plants, shrubs, and grass beds adjacent to the house with drop cloths — paint mist travels further than you think
- Remove or cover exterior light fixtures, outlet covers, and house numbers
- Tape off windows and doors with painter’s tape and plastic sheeting if spraying
- Move furniture, grills, and other items away from the work zone
A good painting contractor handles all of this. If you’re DIYing, budget a full day just for protection and masking before any painting starts.
How Long Does Exterior Painting Take in Portland?
For a professional crew, most Portland single-story homes take 2–4 days depending on size, prep complexity, and weather. Two-story homes typically run 4–7 days. These estimates assume the prep work above is done — if the house has significant rot, multiple layers of failing paint, or extensive caulking needs, prep alone can add 1–2 days.
The biggest variable in Portland is weather. We build buffer time into every schedule to account for the occasional May drizzle or an unexpected humid morning that pushes back the start of a day.
Hiring a Portland Exterior Painter: What to Look For
If you’re hiring out rather than DIYing, here’s what to ask any painting contractor:
- Are you Oregon CCB licensed and insured? Oregon requires contractors to be registered with the Construction Contractors Board. Ask for the CCB number and verify it at oregon.gov/CCB. (Domain Custom Painting CCB #231549.)
- Do you carry general liability and workers’ comp? If a painter falls on your property without workers’ comp, you could be liable.
- Is your home pre-1978? If yes, ask whether they’re EPA Lead-Safe Certified.
- What does your prep process include? Any contractor who doesn’t mention pressure washing, caulking, and priming in detail is cutting corners.
- What paint products do you use? A quality contractor specifies products by name and explains why they use them for your specific surfaces.
- Do you provide a written, itemized estimate? Vague estimates lead to surprise charges. Every scope item should be in writing.
For a full breakdown of what separates a quality Portland painter from one who cuts corners, read our guide to choosing the best house painter in Portland, Oregon.
Ready to Get Started?
If your Portland home is due for a repaint this season, the best first step is a free on-site estimate. I’ll walk the exterior with you, point out everything that needs attention before paint goes on, and give you a clear written quote — typically same day or next day.
Domain Custom Painting serves Portland and the entire westside metro, including Beaverton, Tualatin, Hillsboro, Lake Oswego, Tigard, and Happy Valley.
Get a free estimate — call (503) 545-7498 or request online. Oregon CCB #231549.
Sabino Martinez is the founder and owner-operator of Domain Custom Painting LLC, serving the Portland metro area. Oregon CCB #231549.